Make a small-scale wicking bed
Wicking beds are well-known as a water-efficient way to grow your plants. Our backyard is one-third concrete, and as such wicking beds and wicking pots have been the best ways for us to grow in this area. It works very well for us, and we’ve managed to grow herbs, veggies, chillies and a handful of other edibles in these pots – especially since it the concrete area is the sunniest part of the yard.
Below is a pic of a full-size wicking bed made with an apple crate. I’ve got a few of these, and for us – they work a treat. The electrical conduit is used to drape shadecloth, netting or greenhouse plastic – depending on the time of year or need at the time. To see how I made these, check out the Very Edible Gardens wicking bed approach we used here!

Here’s a wicking bed Adam helped me make – it went gangbusters!
On one sunny Autumn afternoon I decided to document the steps I typically use to put one of the smaller ones together. And believe me – if I can do it – anyone can!
What I used:
1 x olive oil drum (300 litres – available for between $15-$30 on Gumtree)
A length of aggi pipe (indestructable rubbish collections – yeah!)
Scoria or similar medium (I get this from my local Garden Supplies – much cheaper than other places)
A length of PVC pipe (this will do me for two of these beds)
Some silicone sealant
Plumbers tape
Elbow joint – one end threaded (I used this)
Garden Rain Tank Outlet
19mm x 1m Poly Pipe Tube
PVC cap
Geo-textile fabric (I get this from my local Garden Supplies)
Luckily I had a lot of the materials lying around from previous projects, so this particular example only set me back $10 or so. I was low on compost so used high-grade potting mix and nursery-bought cow manure this time round, so that cost me probably another $30.
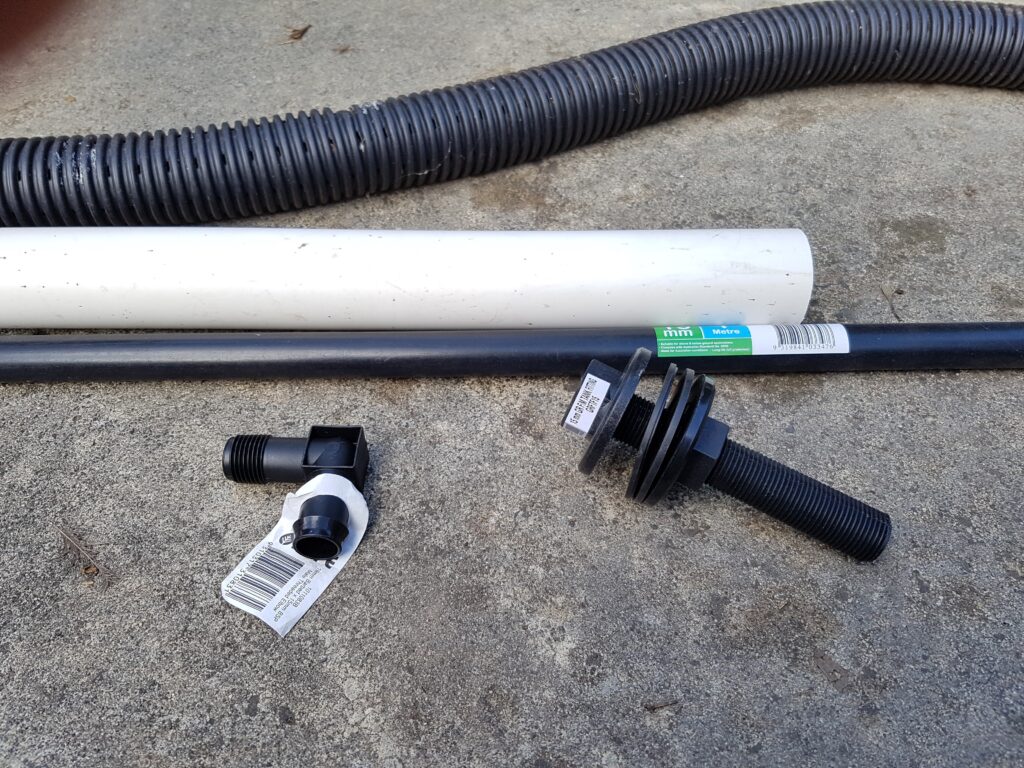
Between what I had lying around and a trip to the big green box and I’ve got some materials ready to go!
Tools
Drill
Holesaw drill bits (I got this one cheap a few years back)
Handsaw
Scissors
Below is the olive oil barrel – a friend gave a few to me a year or so ago and they’ve been doing very little. So time to put this one to good use!
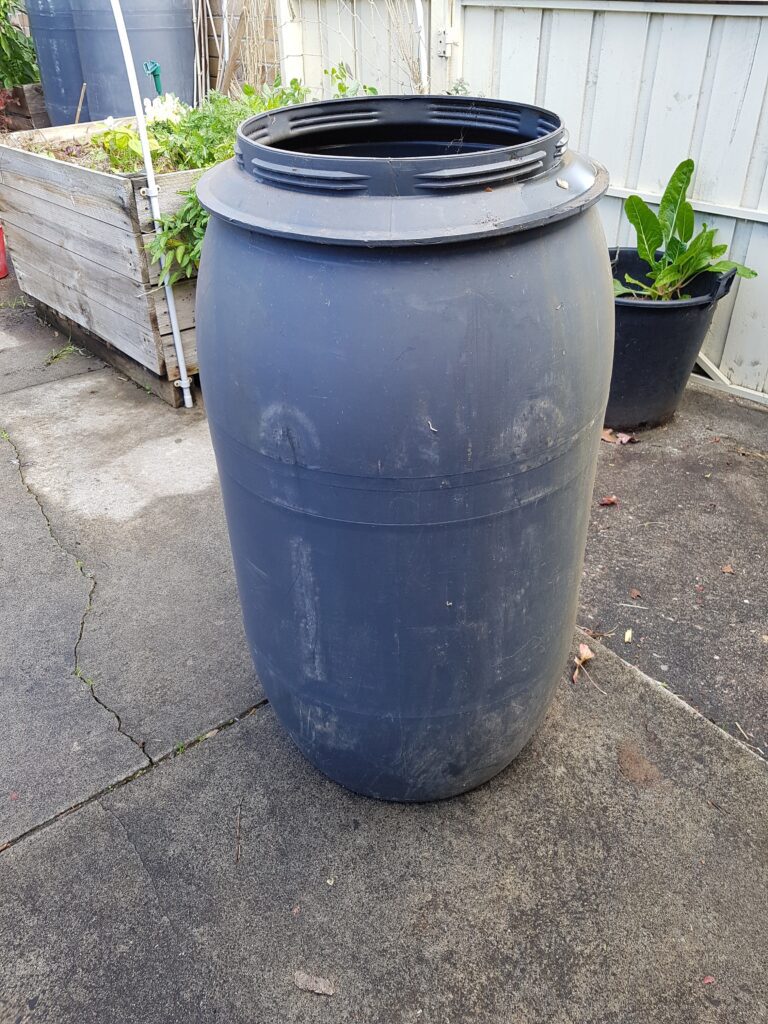
You can find these food-grade barrels on Gumtree for between $20-$30. This one was given to me by a friend
The first step was getting out my trusty hand-saw, and cutting it in half. I didn’t bother measuring it up (I’m a bit slack…) so they’re slightly different in height but I’m not fazed by that. If equal height is your thing – break out with some chalk and a measuring tape before engaging in your cutting action.
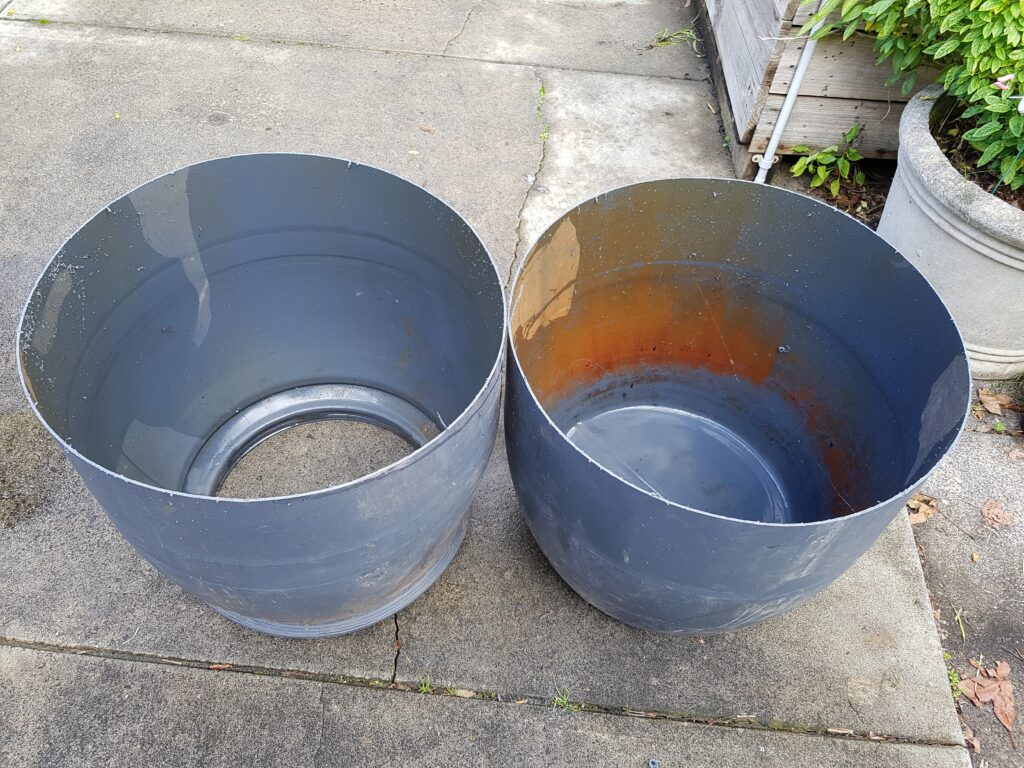
Once you’ve cut it in half you’ve got two large garden pots ready to go!
You’ll notice that one of the two halves has a empty bottom – that’s because the lid isn’t attached. I’m not planning on making that half into a wicking bed today – but if I was I would use a liner to prevent any possible leakage. I’ll actually use the top half to make a portable compost bin… so we’ll be working with the bottom one for now!
Next up you need to make sure that you’ve got an overflow pipe happening – you don’t want to be drowning your plants! I have a hole-saw kit and I just use the one that’s around the same size as the outlet pipe. It’s a good idea to have this hole as low as you can – these drums have a curve at the bottom which can be a bit annoying, but still totally workable.
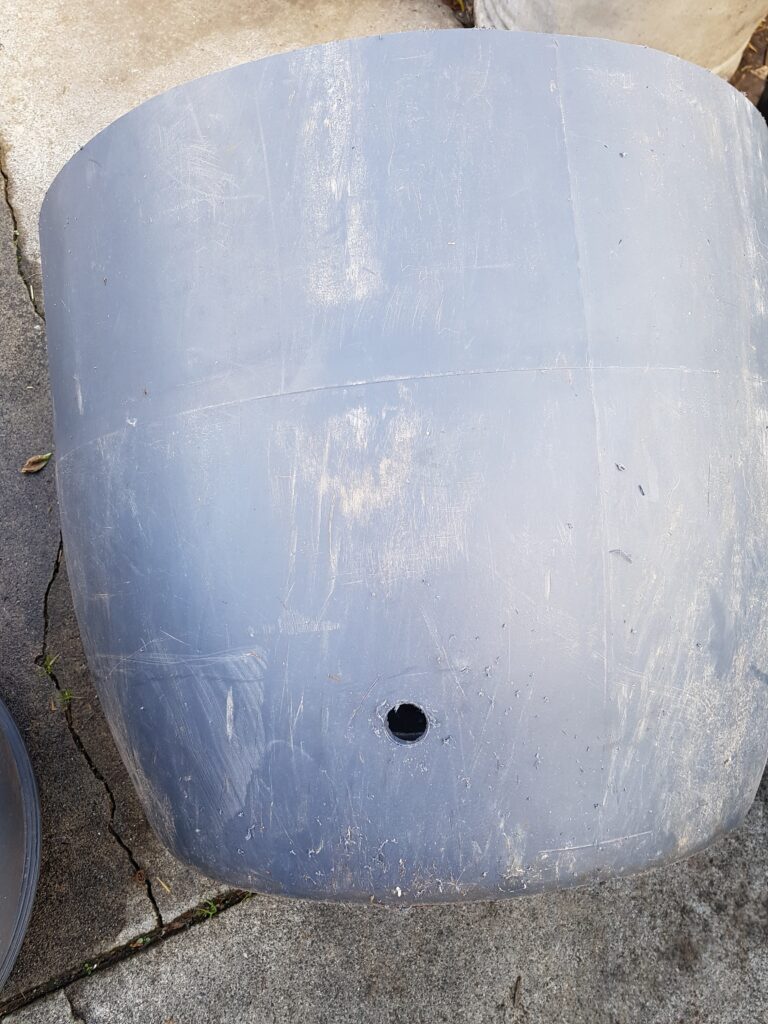
Use your hole-saw to drill a hole towards the base.
Grab your plumbers tape and wrap it around the threaded end of the elbow joint – this will help ensure the seal is totally watertight. No leaks here!
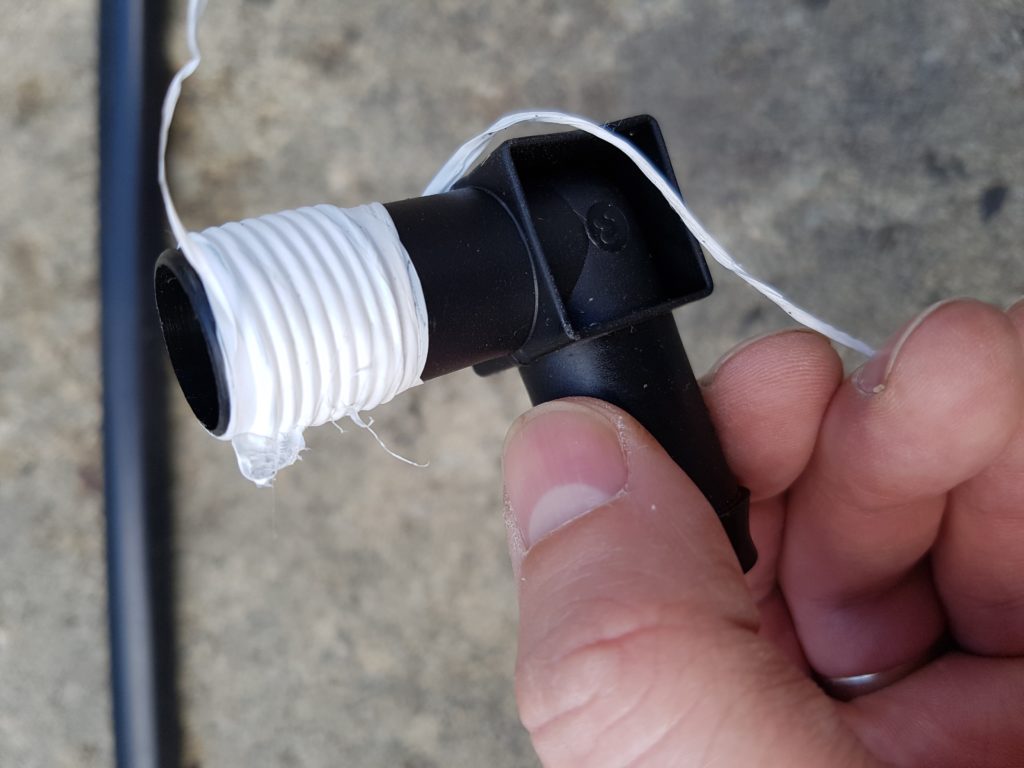
Wrap that plumbers’ tape on – tight!
Next up – screw the newly-wrapped elbow into the tank outlet – make sure it’s nice and tight!
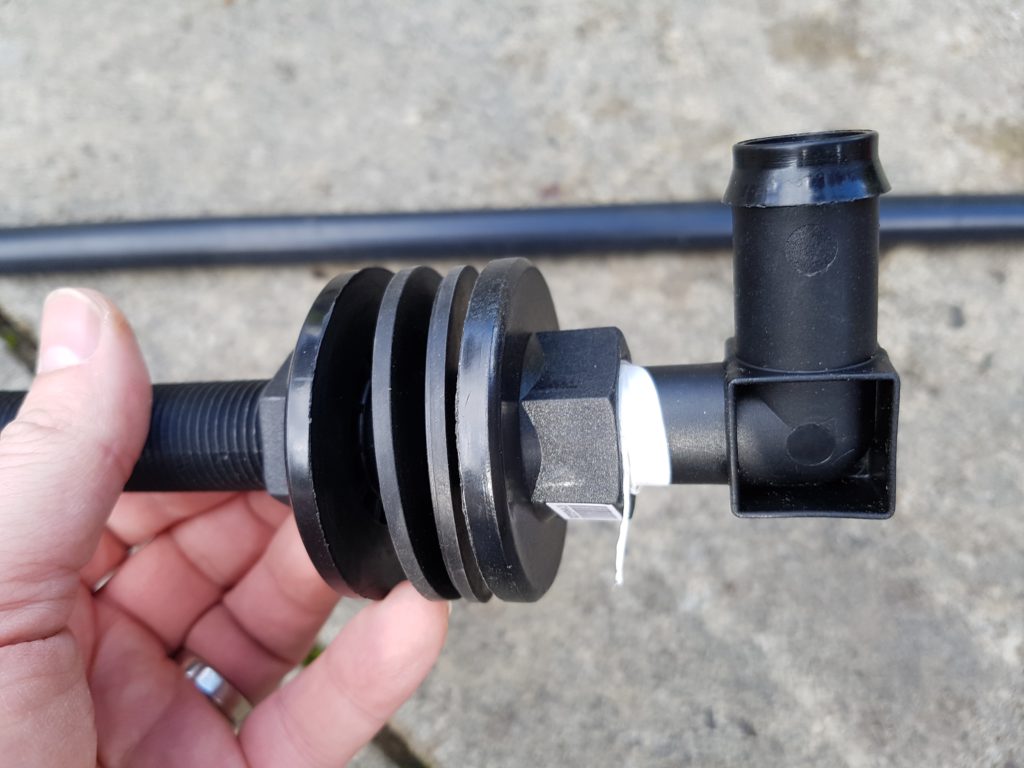
Tada! It’s kinda like Lego… with bonus plumbers tape!
Ok – so now it’s time to connect this new outlet thingy to the barrel!
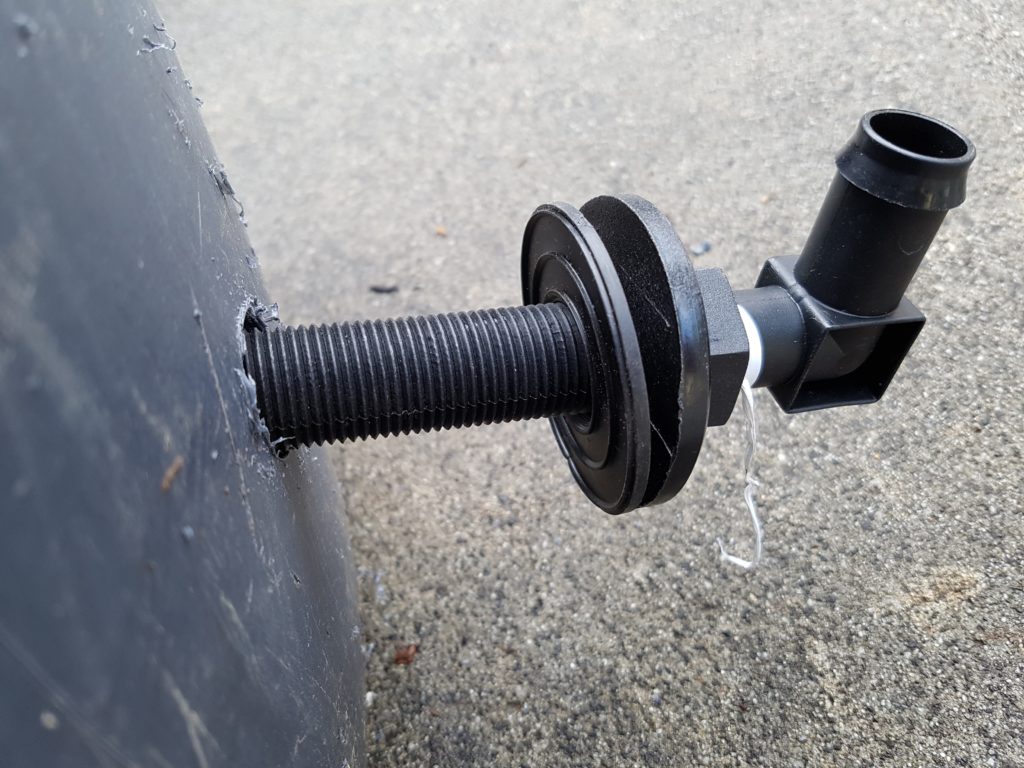
Below you can see the outlet pipe – you can totally cake the round bit that will push up against the barrel with silicone sealant. This will prevent any possible leakage. (I have no idea what that round bit is called. The seal? I don’t know. Sorry.)
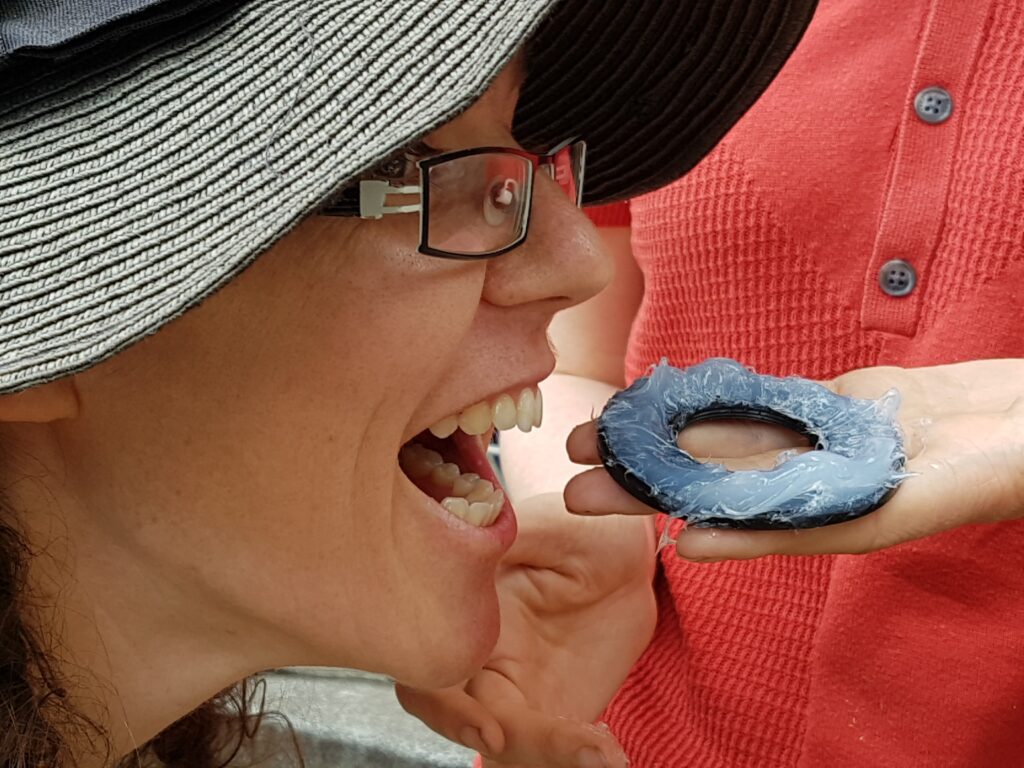
This is *not* the way to add the silicone!
Once that’s been added, add silicone to the inner “ring” and screw that one in too – as tight as you can.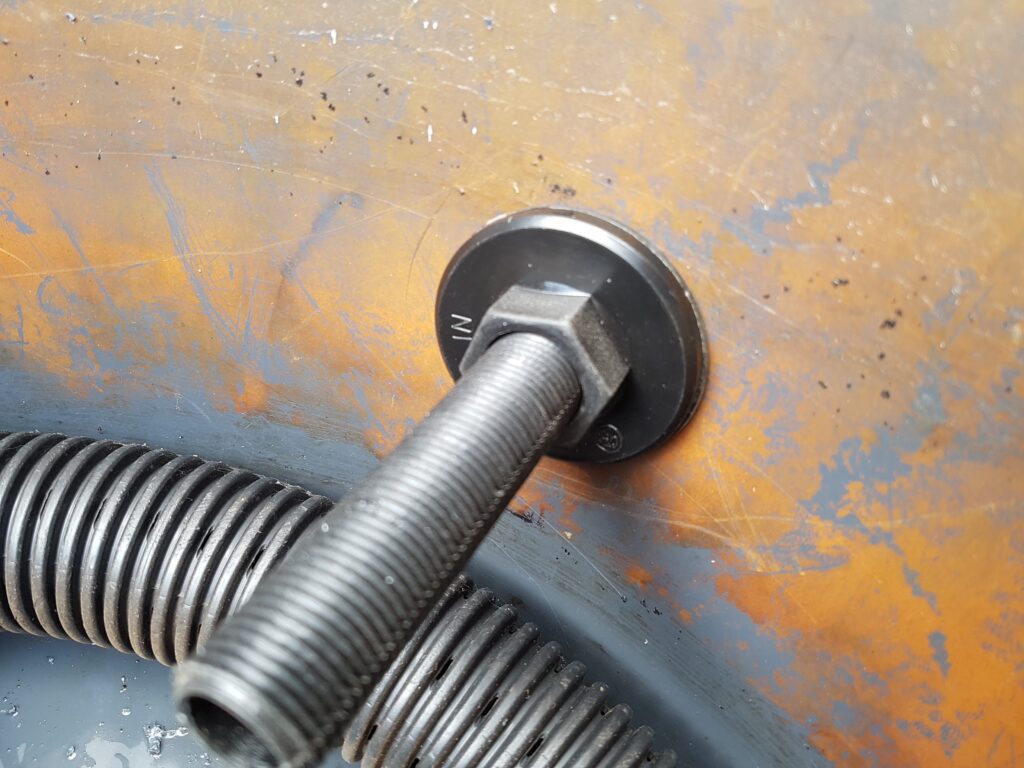
It’s really important to make sure that the outlet is secured as tightly as possible.
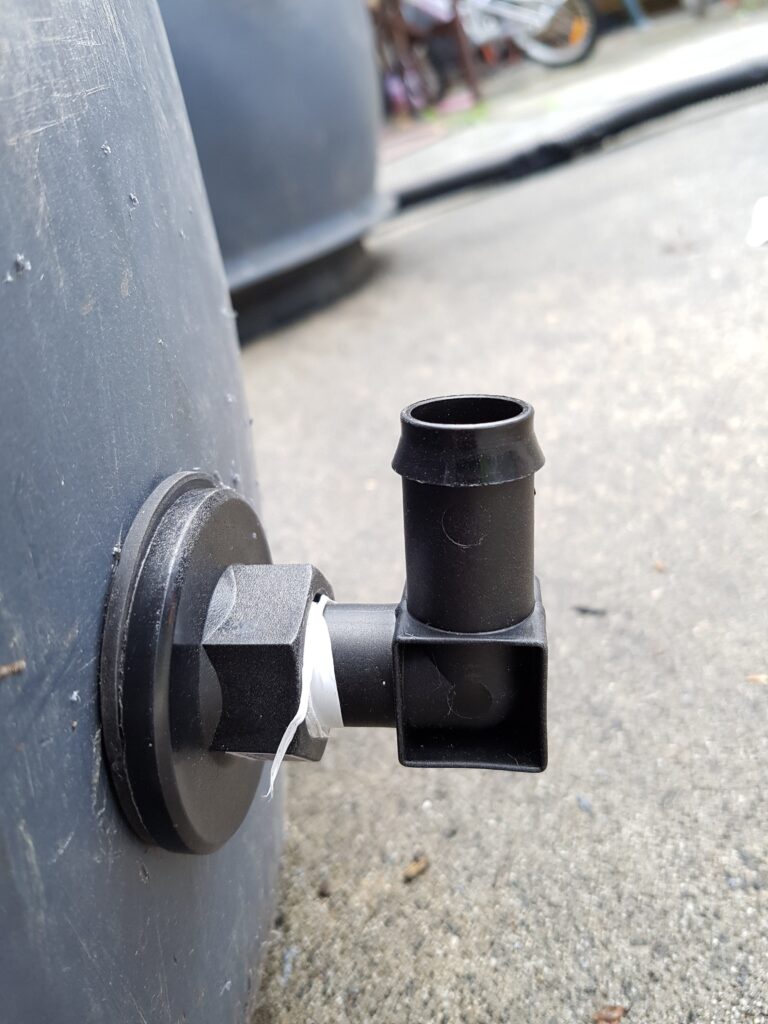
Make sure the elbow is pointing up!
Before we doing anything crazy like putting water in there, we need to add a pipe to the other end of the elbow joint.
This will serve a few purposes:
- It will allow the water level to rise above the point where you drilled the hole
- It will give you a quick visual guide as to whether the barrel needs more water or not
- If you need to flush the water from the system, you can just turn the elbow on a 90 degree angle and voila! Instant water flush! (Of course, this works best when you have the elbow joint as low as possible).
You can push and screw this on without the need for silicone or tape – it should fit quite snugly. If you find it leaks a bit later on then get yourself a clamp.
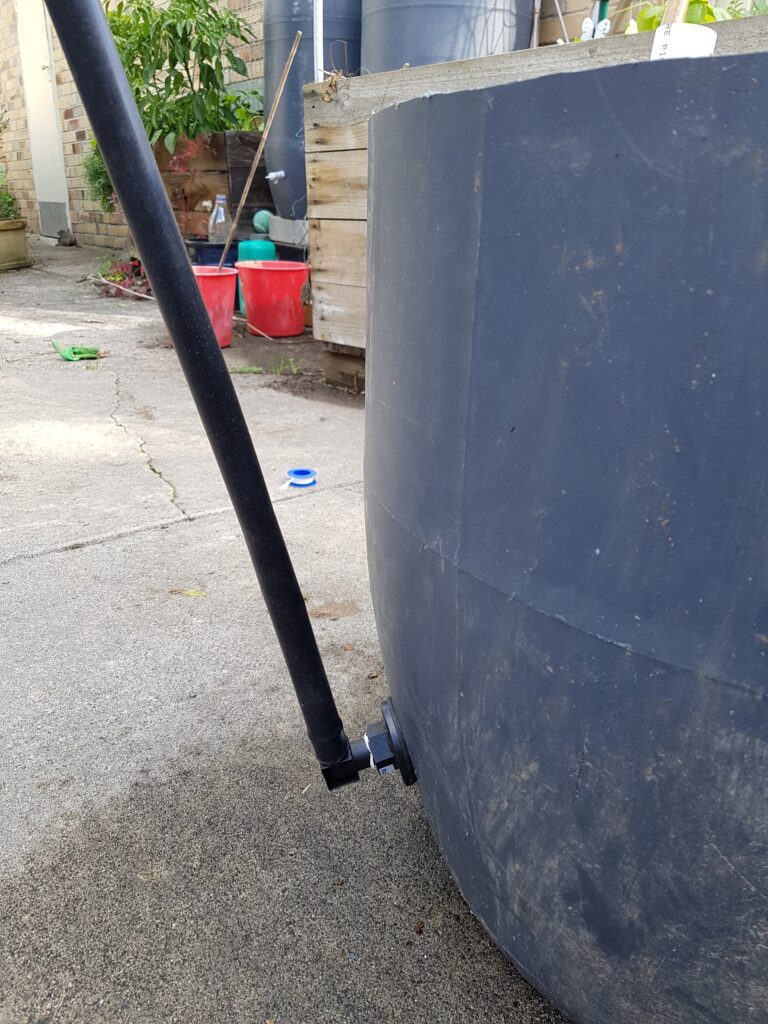
We probably won’t need that much pipe for the outlet…
Now it’s time for the next bit – the PVC! You don’t need a super-long length – just enough to stick 15cm or so above the soil. There are connectors that will secure the aggi pipe to the PVC, but I don’t have this on hand… so I’ve just cut a length down the aggi pipe and wedged the PVC pipe in there.
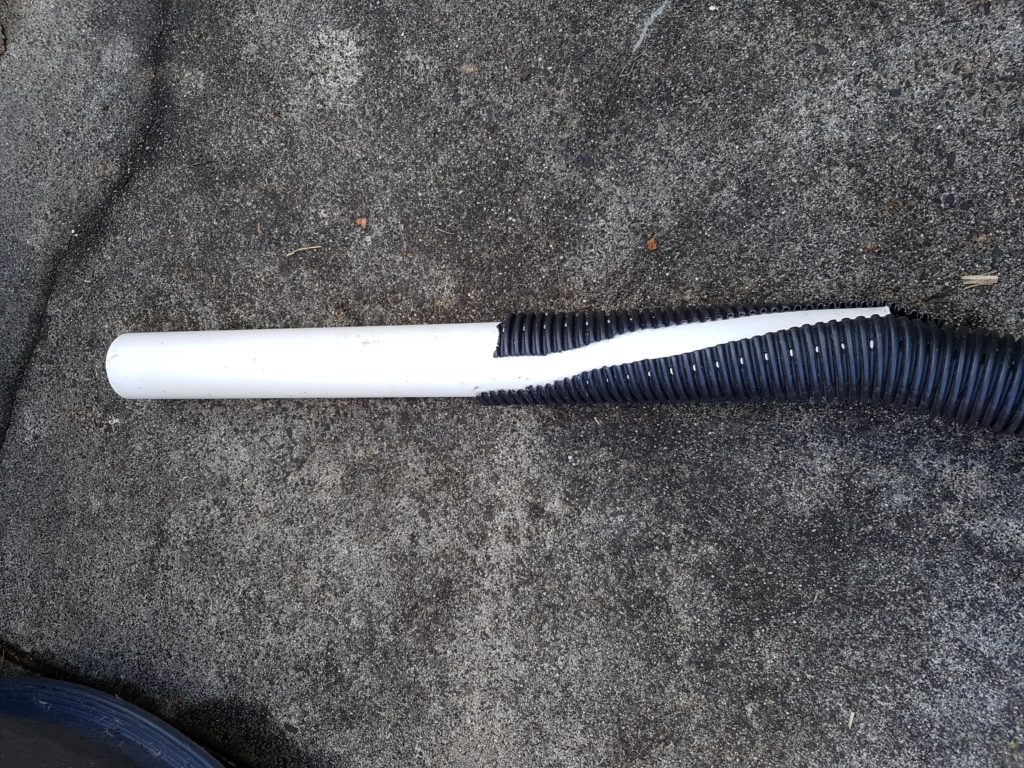
I usually cut the aggi pipe a bit to ensure the PVC pipe will go in firmly
Place your PVC pipe along the back of the barrel, allowing your length of aggi pipe to coil at the base of the barrel. The coil should ring around the base once or so – the point of this is to help distribute the water throughout the medium. Once you have the PVC and aggi pipe in place, just add a small rock or brick to secure them in place before starting to cover them with your scoria. It’s all coming together!
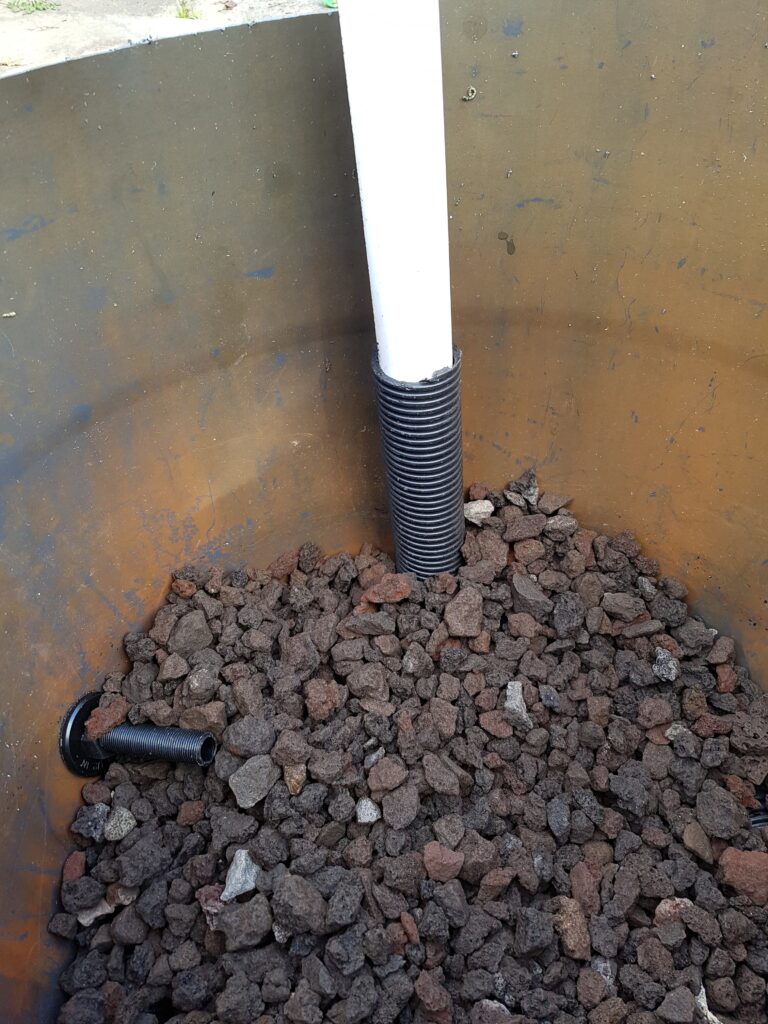
At this point it’s important to note that we will be covering the overflow pipe completely with scoria. Don’t fill the barrel with the stuff (we need soil in there remember!) – make sure you leave 30cm or so for your soil.
When you’re happy with the scoria levels in the barrel it’s crunch time – time to add the water! You can use the hose to pour it down the PVC pipe if you like, or just fill the barrel through the stones. No biggie either way – just make sure that the scoria is level and barely covered by water.
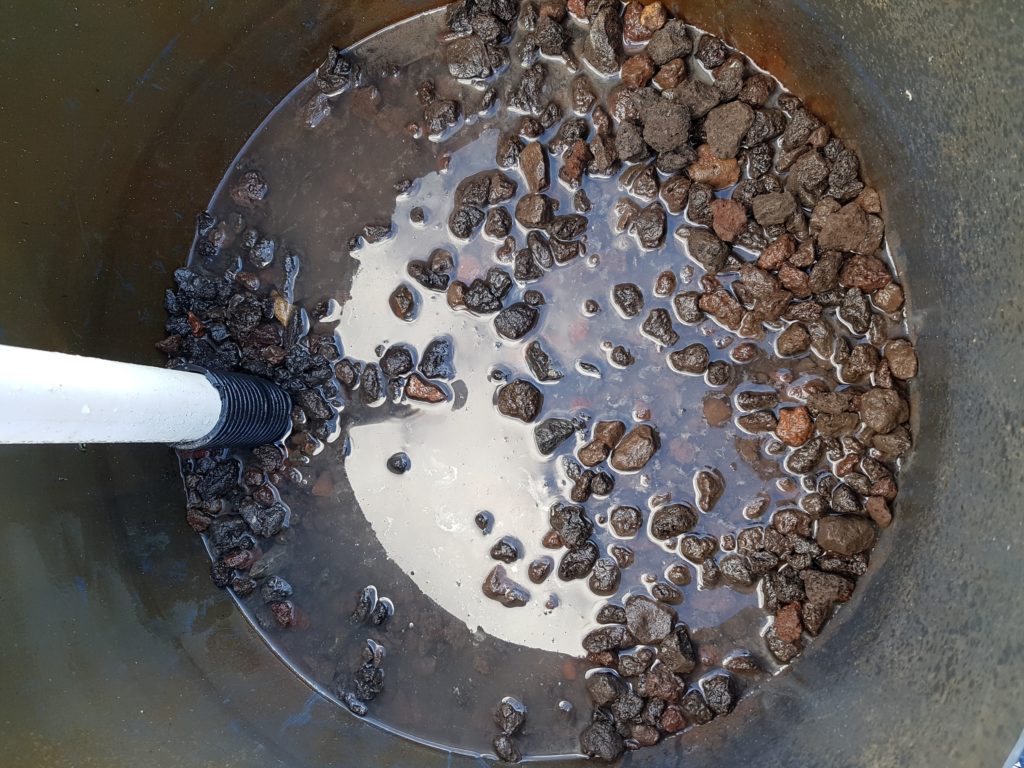
The water has been added and you can see where the scoria needs to be levelled out.
Once it’s all levelled out it’s a pretty good idea to check that there aren’t any leaks. While a leak would kinda suck, it’s better to find it now than when the barrel has been filled with soil and planted out!
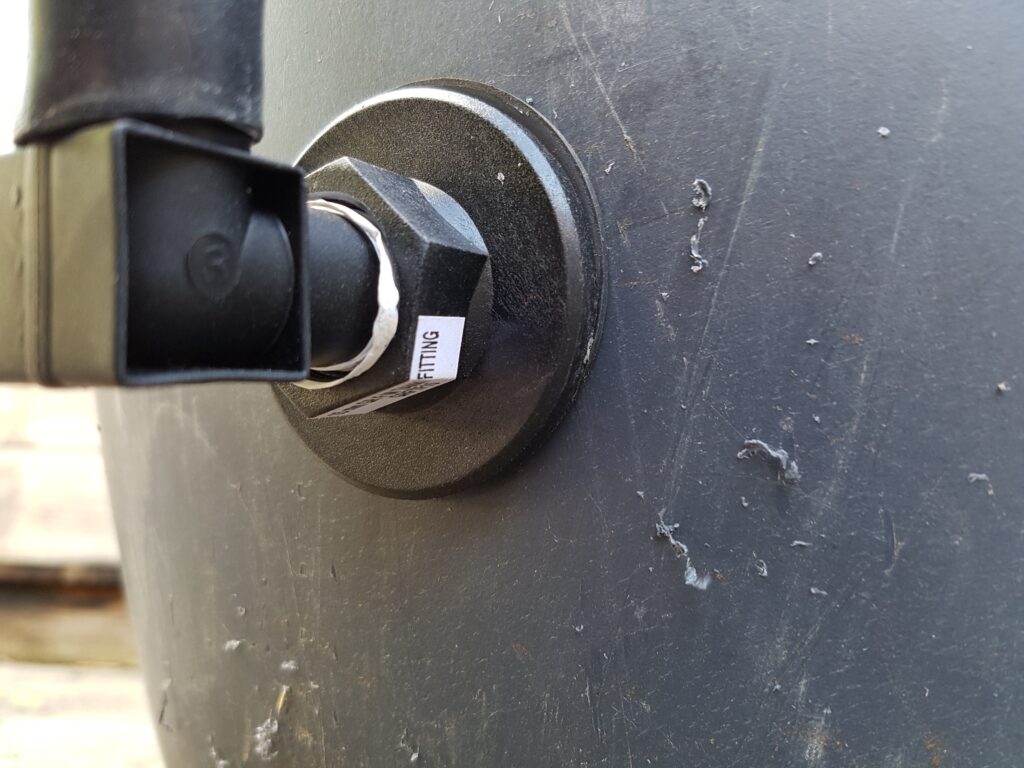
Hooray!!! No leaks!!!
Nearly there – now it’s time to add some geotextile fabric into the mix. Place the fabric over the scoria ensuring that it’s all completely covered. This will prevent the soil and scoria from mixing, while soaking up the water and also allowing roots to permeate through and directly access the water if need be.
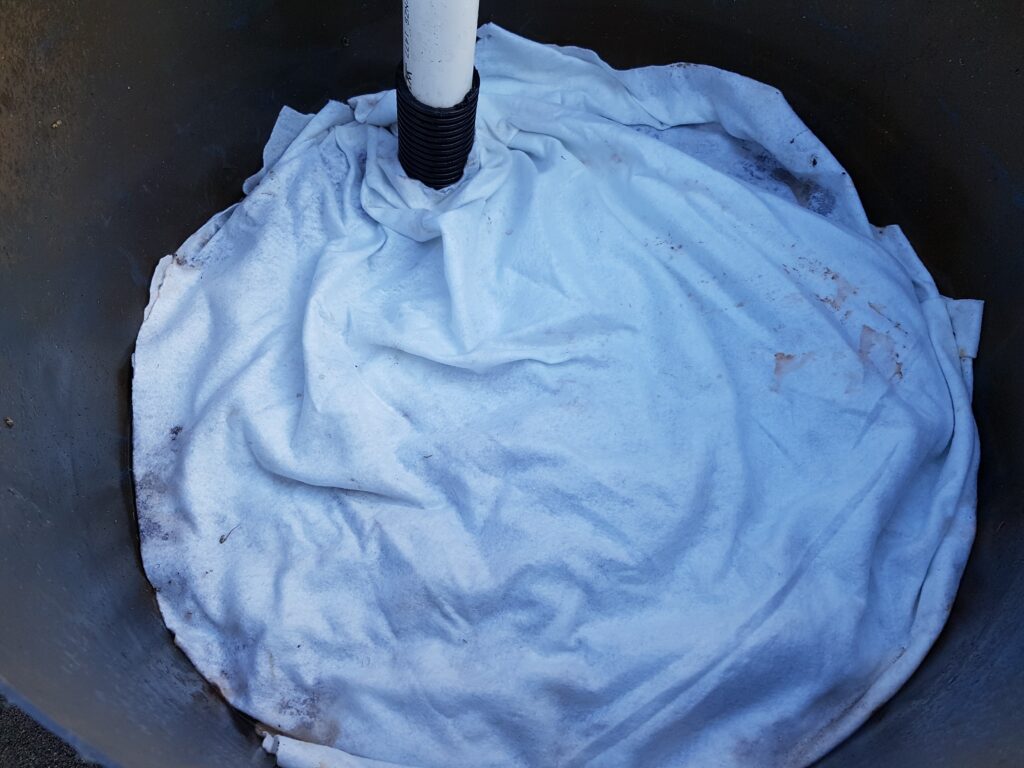
Tuck that scoria in nice and tight…
Now that your barrel is full of water, it’s a good time to reduce the ridiculous length of that pipe. Grab a measuring tape/ruler/favourite stick and measure the depth inside the barrel to the water level. All going well, it should be around the 30cm mark…
Now measure the same on the outside, and use a pair of scissors to cut the tube at the 30cm mark. This is your new overflow point!
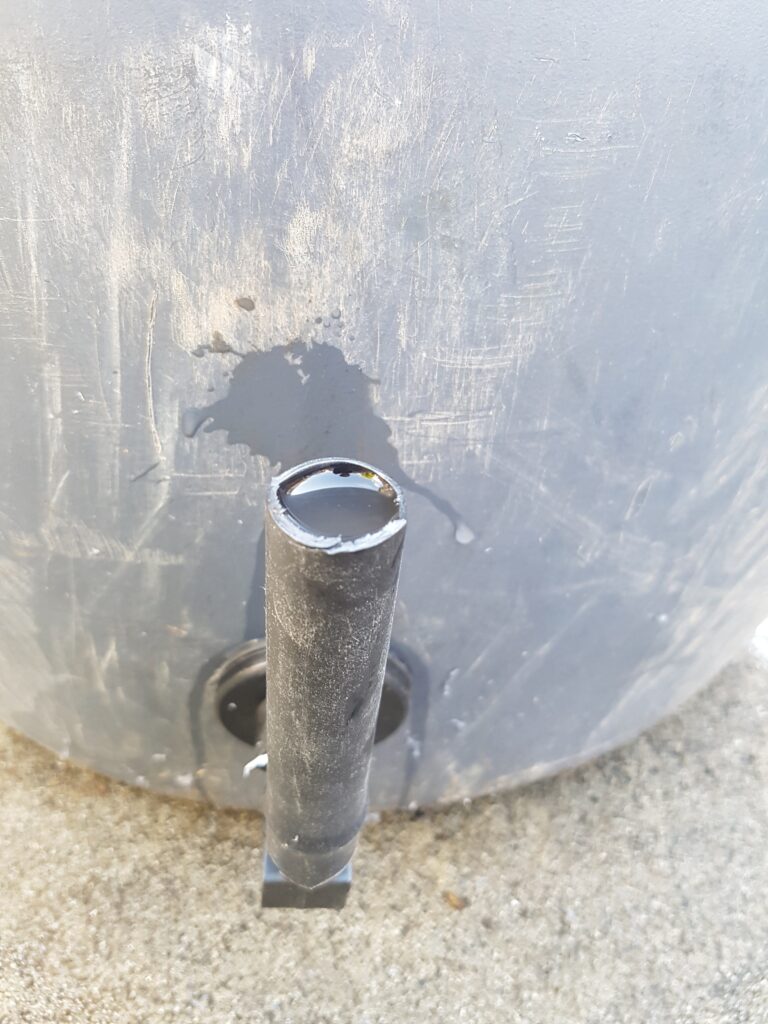
That water is level!
At last – it’s time to add the soil! My compost bin was looking a bit sad, so this time around I decided to use some primo potting mix. Since I’m putting blueberries into this barrel, it could do with a good nitrogen kick, so I’ll add a bag of cow manure in too. I added one bag of potting mix in first, then the manure – mixed them up and bit and then put another half a bag of potting mix before planting out. Once the bush was in, I added the last half in and levelled it out.
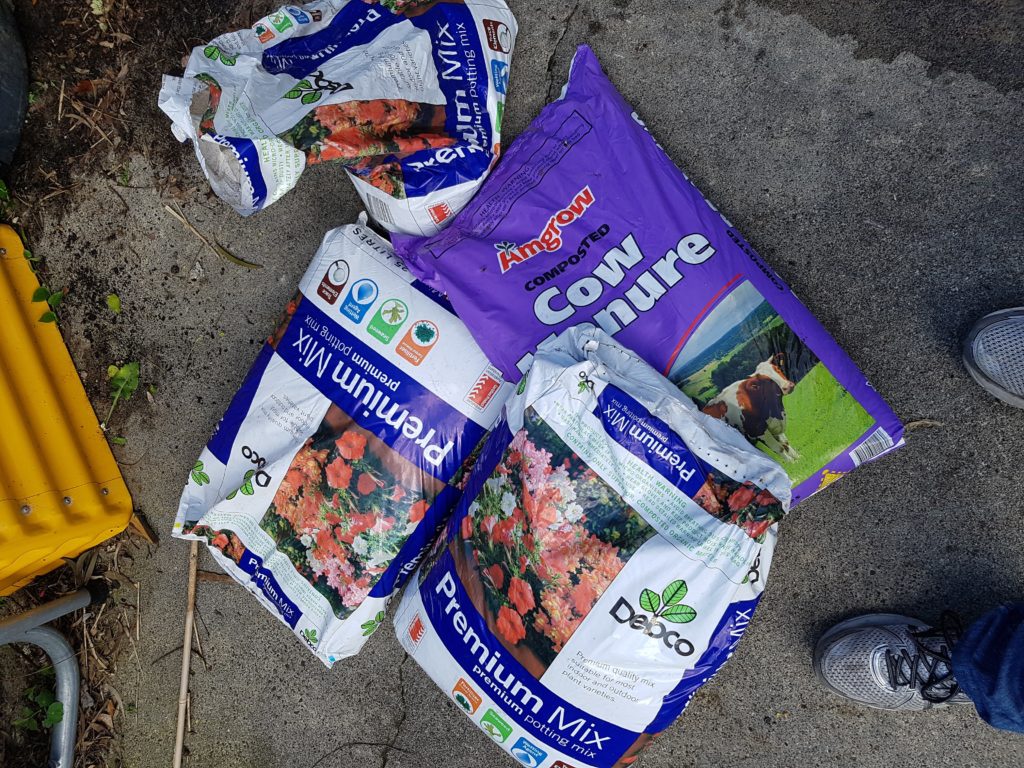
It’s great when you can source without the need to buy it – but this time round… I needed to buy it. It’s worth noting that once you’ve filled the barrel with all these rocks and water (let alone the potting mix and manure) this barrel is really, really heavy. So it’s a pretty good idea to make sure it’s in the right place before you start!
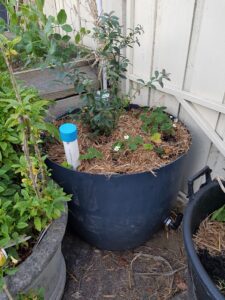
This finished barrel below has a deciduous blueberry bush in it. They say can grow to 2m, so I’ve got it in a nice sunny spot. The concrete will act as a heat bank and will add to the overall warmth that the barrel will enjoy. I’ve also added some pine needles that I got from a local park instead of pea-straw as I’e read that they provide the blueberry bush root system with an environment that significantly improves fruit production. And that sounds good to me!
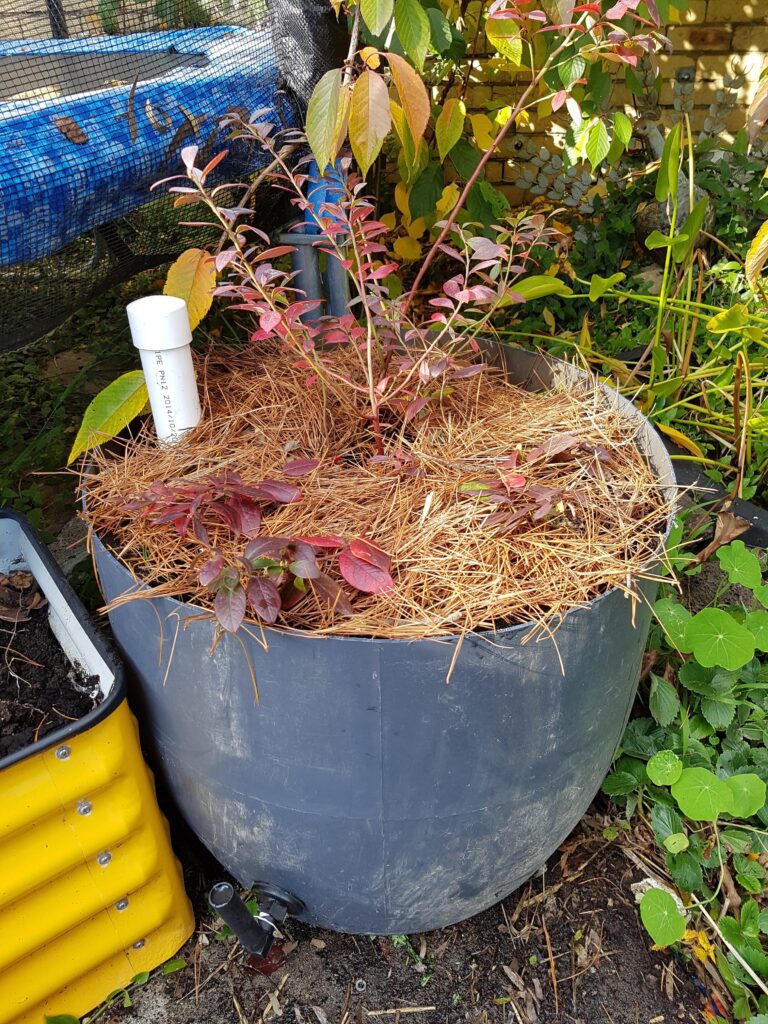
A finished wicking barrel!
I’ll most likely add some strawberry varieties around the blueberry bush – but that can wait for another day…
And don’t forget to add a cap to your PVC pipe! That will ensure that mosquitos and other fun things won’t decide to live in the water. Also deters the kidlets from dropping things down there..
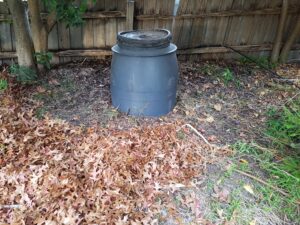
Oh – and the other half of the barrel? That’s now happily full of leaves I harvested from the surrounding streets and some food scraps. Instant compost bin – yay!
- Here’s the other half of the barrel – happily composting away!
- Here’s another one I did a few weeks ago. This blueberry fruits earlier than the other, so I should be able to extend my harvest.

